



Setting Up Your Trading Account
A step-by-step guide to opening your PiTrade trading account, from your first details all the way to approval.
Overview
Before you can start investing with PiTrade, you'll open a trading account held with our brokerage partner, Interactive Brokers. The setup walks you through a short series of screens where you share your personal, tax, employment, financial, and regulatory details, then review and sign a few standard agreements. Most people can finish in one sitting, and a progress bar at the top of each step shows how far along you are. This guide covers the full journey and explains what happens after you submit.
Before you begin
- You must be at least 18 years old.
- Have a valid government tax ID handy (for example, your Social Security Number in the US or your PAN number in India).
- Know your residential address and, if you're employed, your employer's name and address.
- Have a phone number you can verify by text.
- Set aside about 10–15 minutes of uninterrupted time.
Steps
Stage 1 · Confirm your country
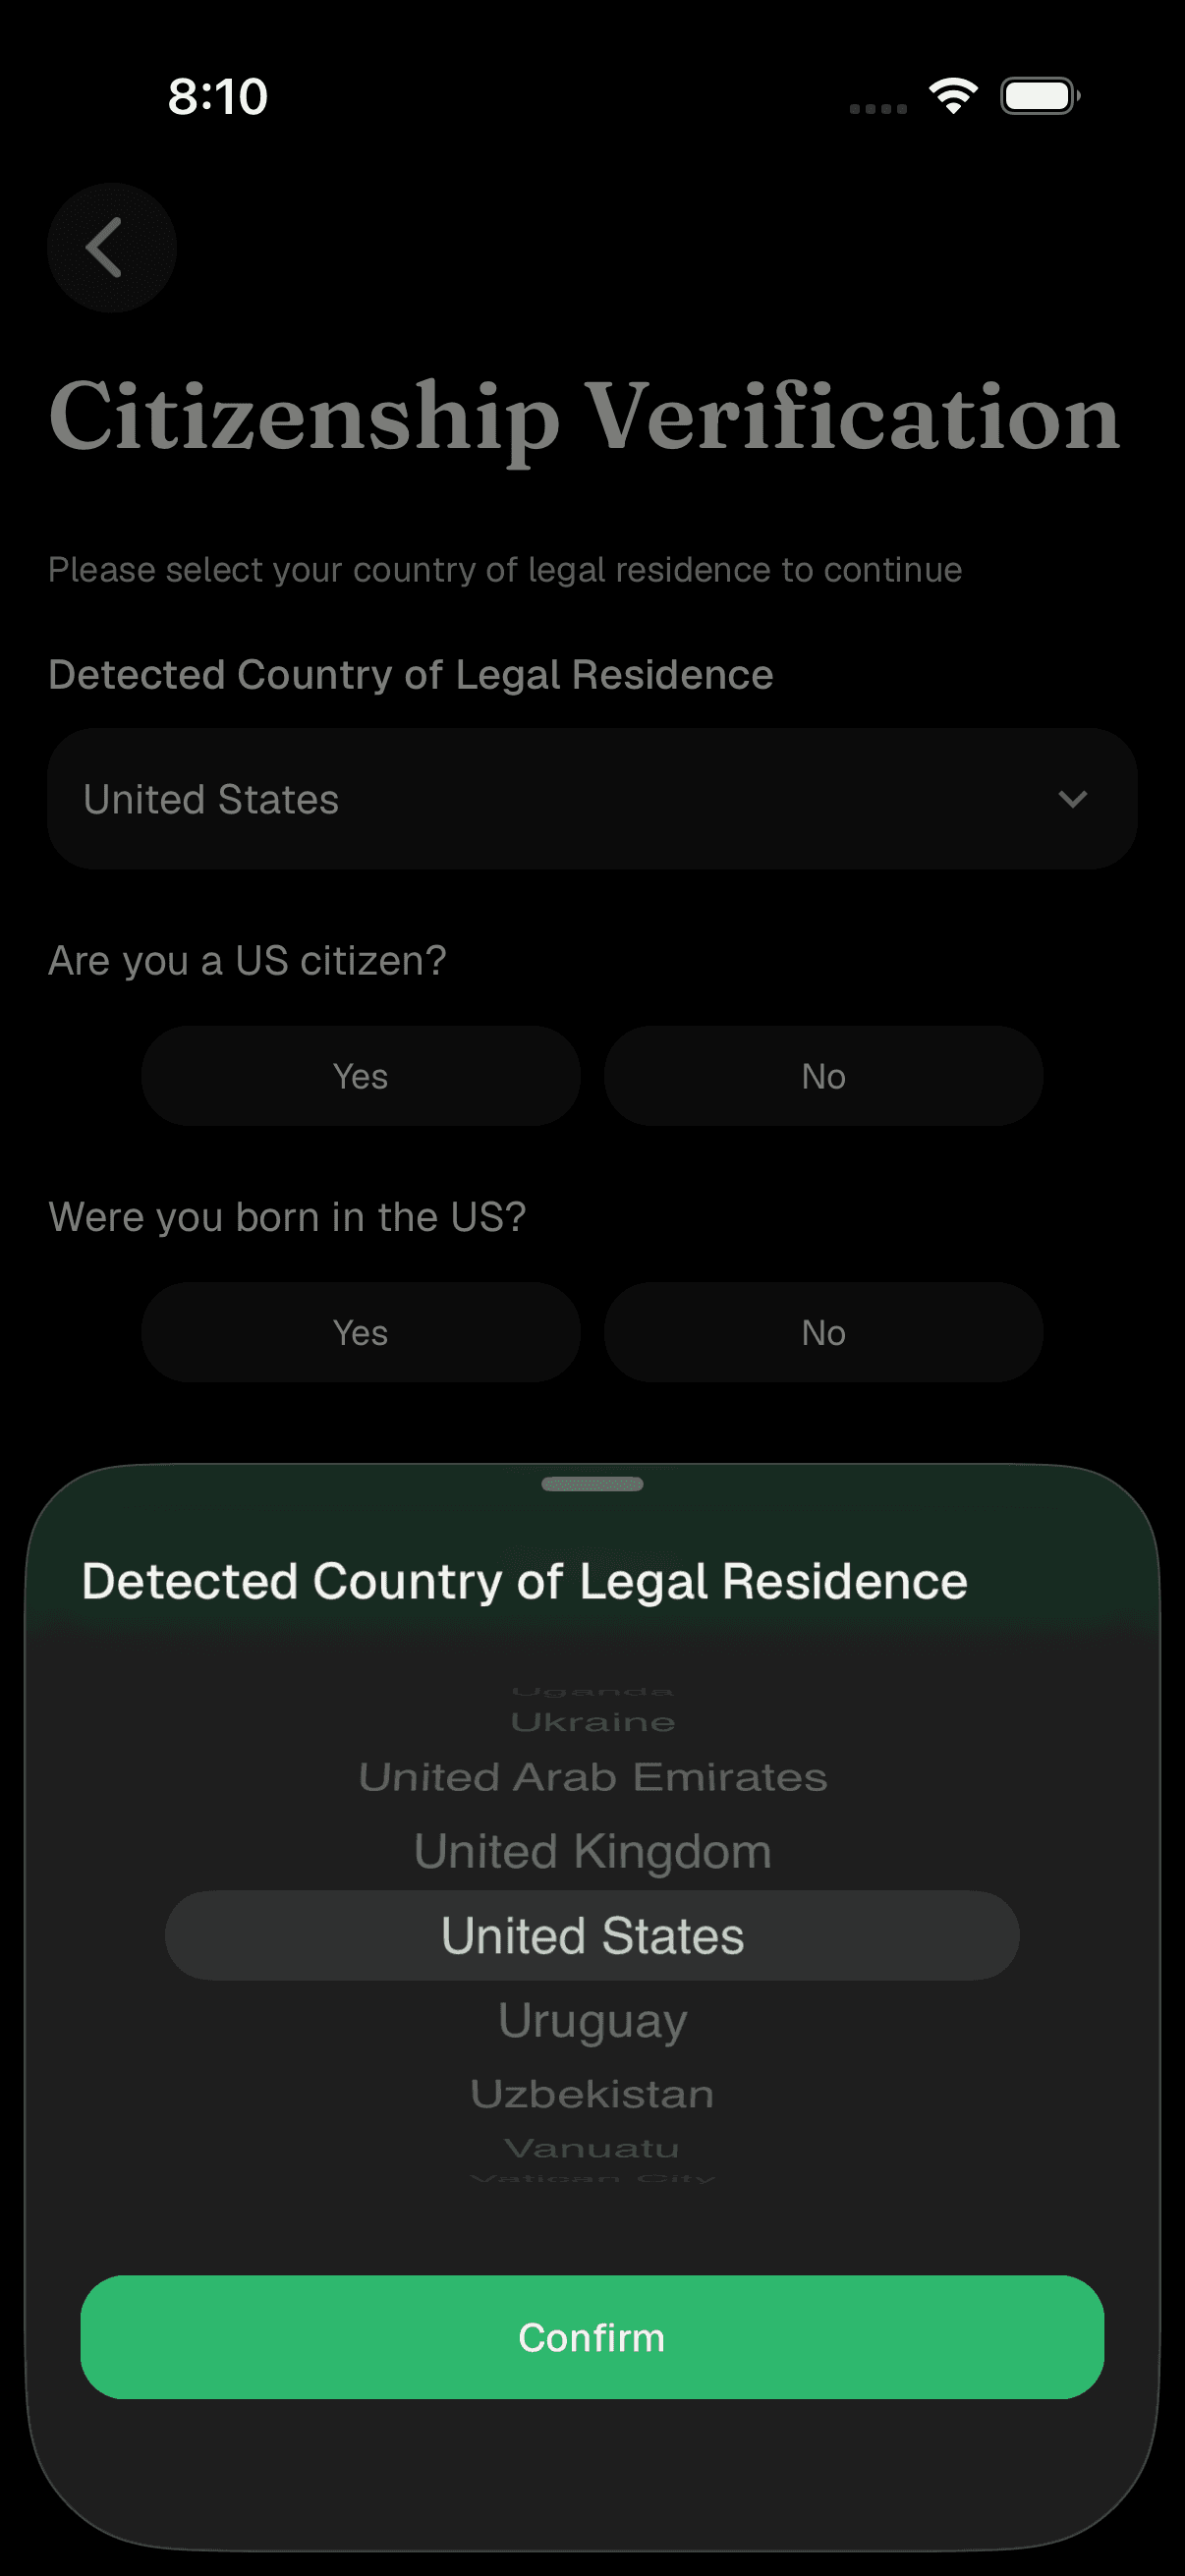
- On the Citizenship Verification screen, open the Detected Country of Legal Residence dropdown and select your country. If we already detected your country, it will be pre-filled - just confirm it's correct. If you choose a country we don't currently support, you'll see a "Country Not Supported" message and won't be able to continue until you select a supported country.
- If you selected the United States, answer the two quick questions that appear: Are you a US citizen? and Were you born in the US? Tap Yes or No for each. If you're a US resident but not a US-born citizen, we'll route you to complete your application directly on Interactive Brokers' secure site.
- Tap Continue.
If your tax residency is US but you are not a US citizen or were not born in the US, you'll be routed to complete your application on Interactive Brokers' secure site. Follow along with this video walkthrough:
Stage 2 · Tell us about yourself
- On Tell us about yourself, enter your Title (salutation), First Name, Middle Name (optional), and Last Name exactly as they appear on your official documents.
- Enter your Date of Birth in the format shown on screen, then your Phone Number. Tap Verify next to your phone number and enter the code we text you - your phone must be verified before you can continue.
- Tap Save and Continue. Curious how we protect your data? Tap the secure-data note to learn how your information is encrypted and kept private.
Stage 3 · Where do you live?
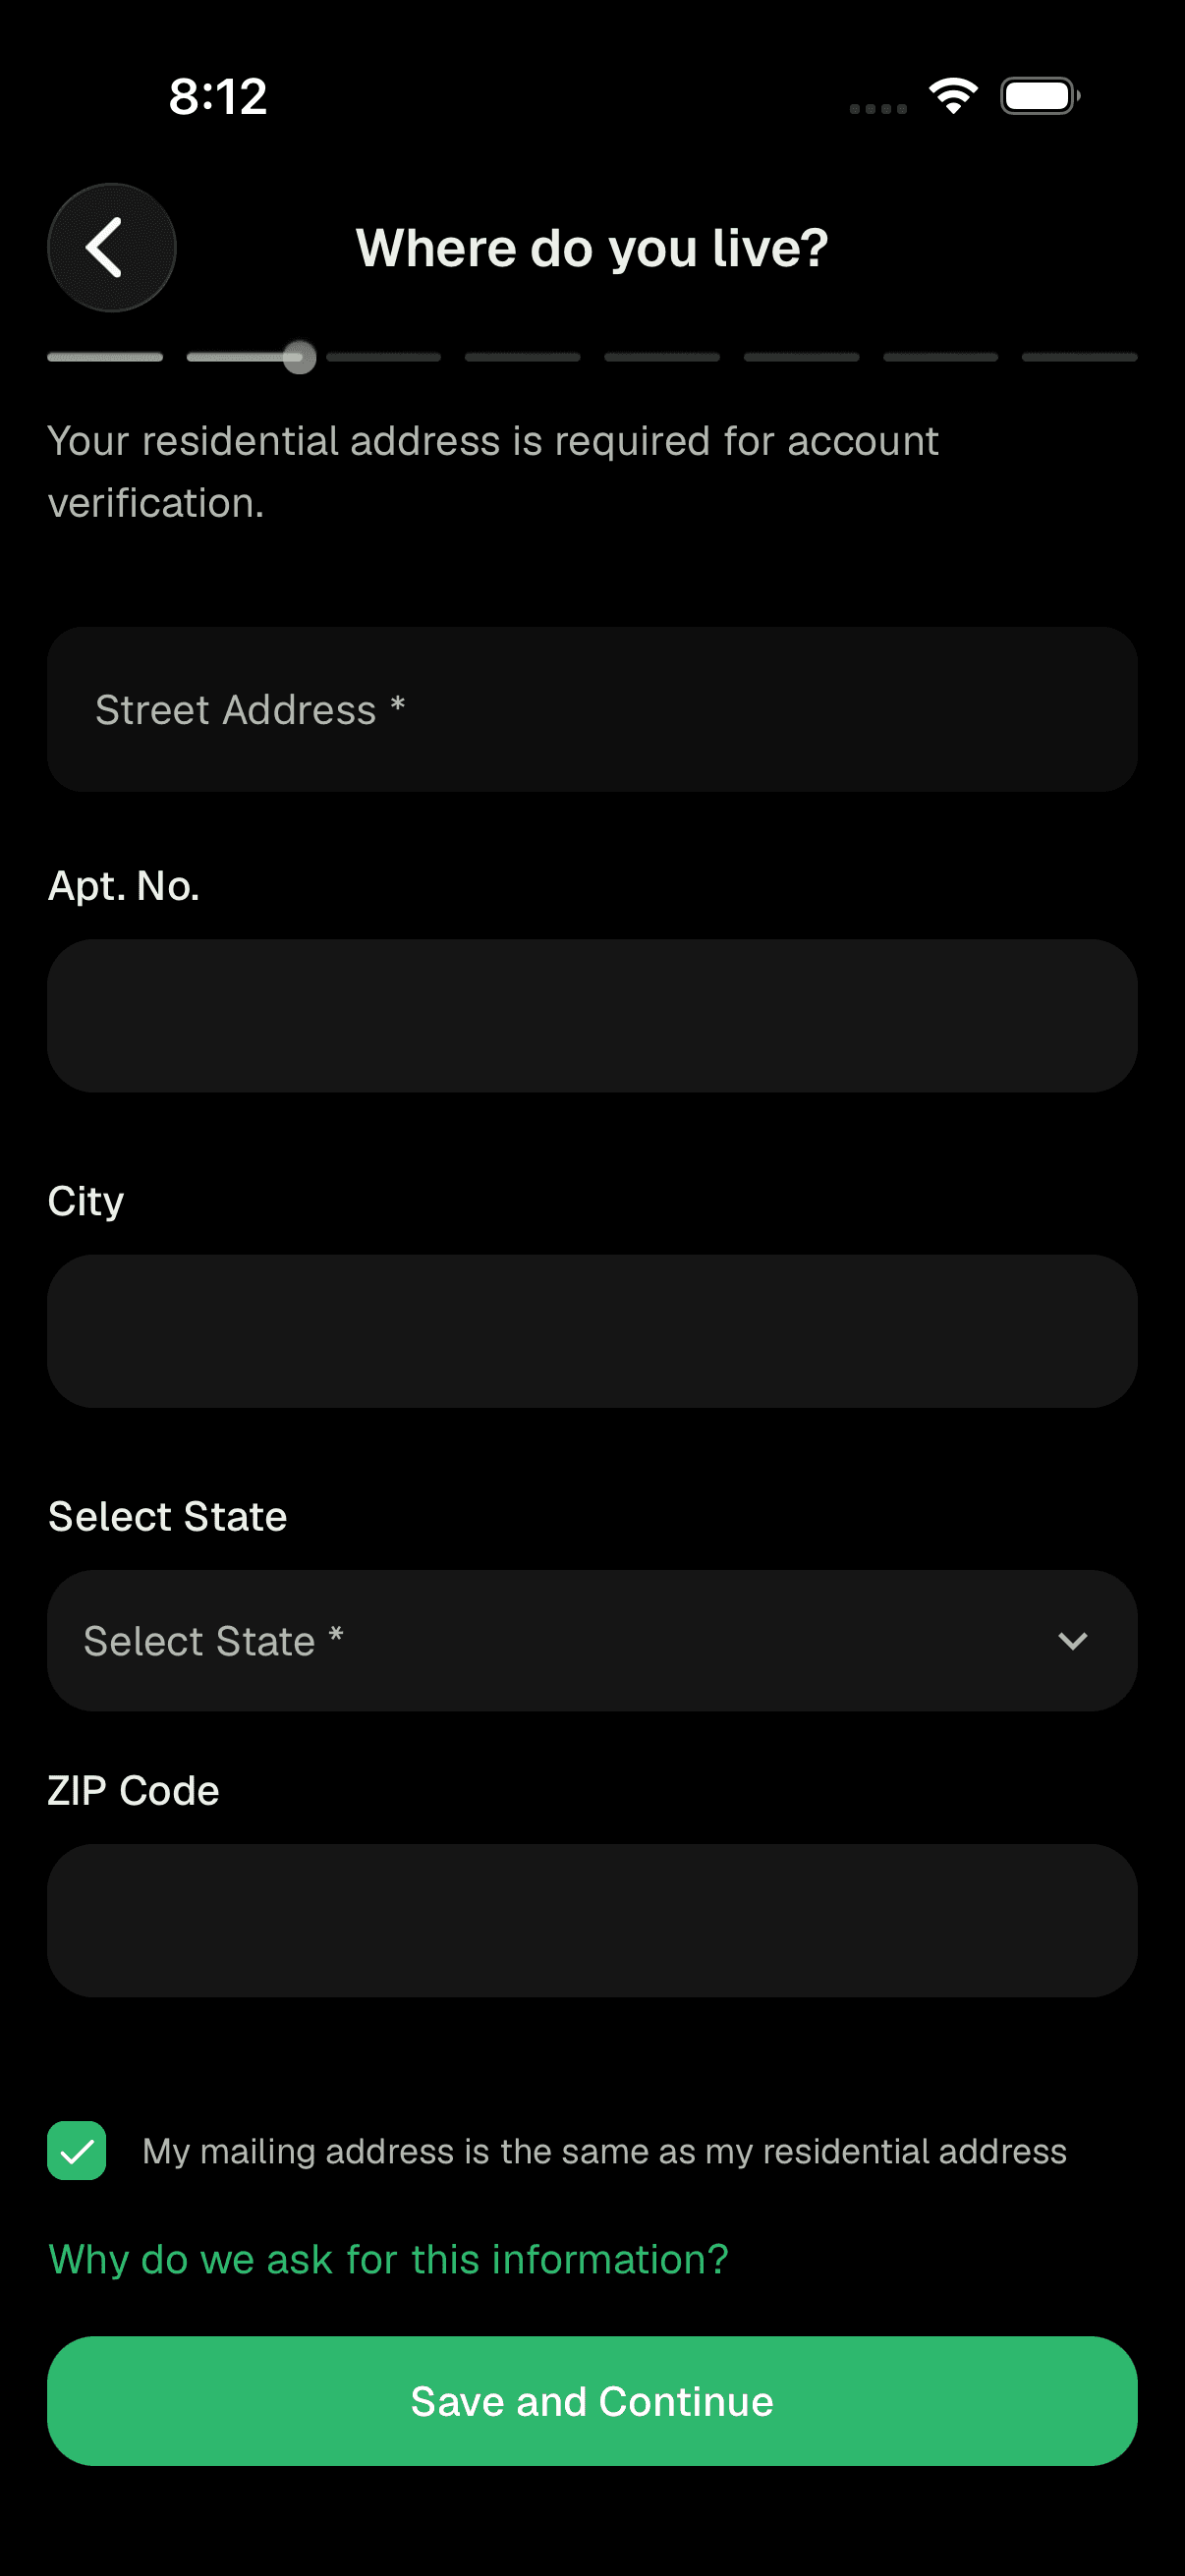
- On Where do you live?, enter your residential address. As you type your street, we'll suggest matching addresses you can tap to auto-fill. Fill in city, State, and postal code.
- If your mailing address is different from where you live, turn off the "same mailing address" option and a Mailing Address section will appear for you to complete.
- Tap Save and Continue. Tap Why do we ask for this information? any time you'd like a plain-language explanation.
Stage 4 · Your tax information
- On Your tax information, enter your tax ID. The label matches your country - for example Social Security Number in the US or PAN Number in India.
- Under Additional Details, enter your Number of Dependents and select your Marital Status.
- Tap Save and Continue.
Stage 5 · Tell us about your work
- On Tell us about your work, choose your Employment Type from the dropdown. If you select Employed or Self-Employed, more fields appear: Employer, Employer Business, Occupation, and (for employees) your employer's address. If your business or occupation isn't listed, choose Other and add a short Description.
- Tap Save and Continue. Note: your employer's address can't be the same as your home or mailing address. If it is, the app will suggest you may actually be self-employed.
Stage 6 · Your financial profile
- On Your financial profile, select your Net Worth, Liquid Net Worth, and Annual Net Income from the dropdowns. Your net worth can't be lower than your liquid net worth.
- Under Sources of Wealth, select every option that applies (for example, Employment Income, Investment Profits, Inheritance, Pension). If you pick Other, describe it in the box that appears. If you're employed or self-employed, you'll need to include Employment Income as one of your sources.
- Tap Save and Continue.
Stage 7 · Investment goals
- On Investment Goals, fill in your stock trading experience: Knowledge Level, Years Trading, and Trades Per Year.
- Under Investment Objectives, select all that apply (Preservation of Capital and Income Generation, Growth, Hedging, or Profits from Active Trading and Speculation). PiTrade is built for active investing, so you'll need to select at least one objective beyond "Preservation."
- Tap Save and Continue.
Stage 8 · Regulatory disclosures
- On Regulatory Disclosures, answer the compliance questions. These do not apply to most people, so for many customers the answer is simply "No" to each. If you're affiliated with a broker-dealer, or you or someone you control is an employee or large shareholder of a publicly traded company, answer accordingly and provide the requested details (such as the relationship, person's name, company, or ticker symbol).
- Tap Save and Continue.
Stage 9 · Review and sign
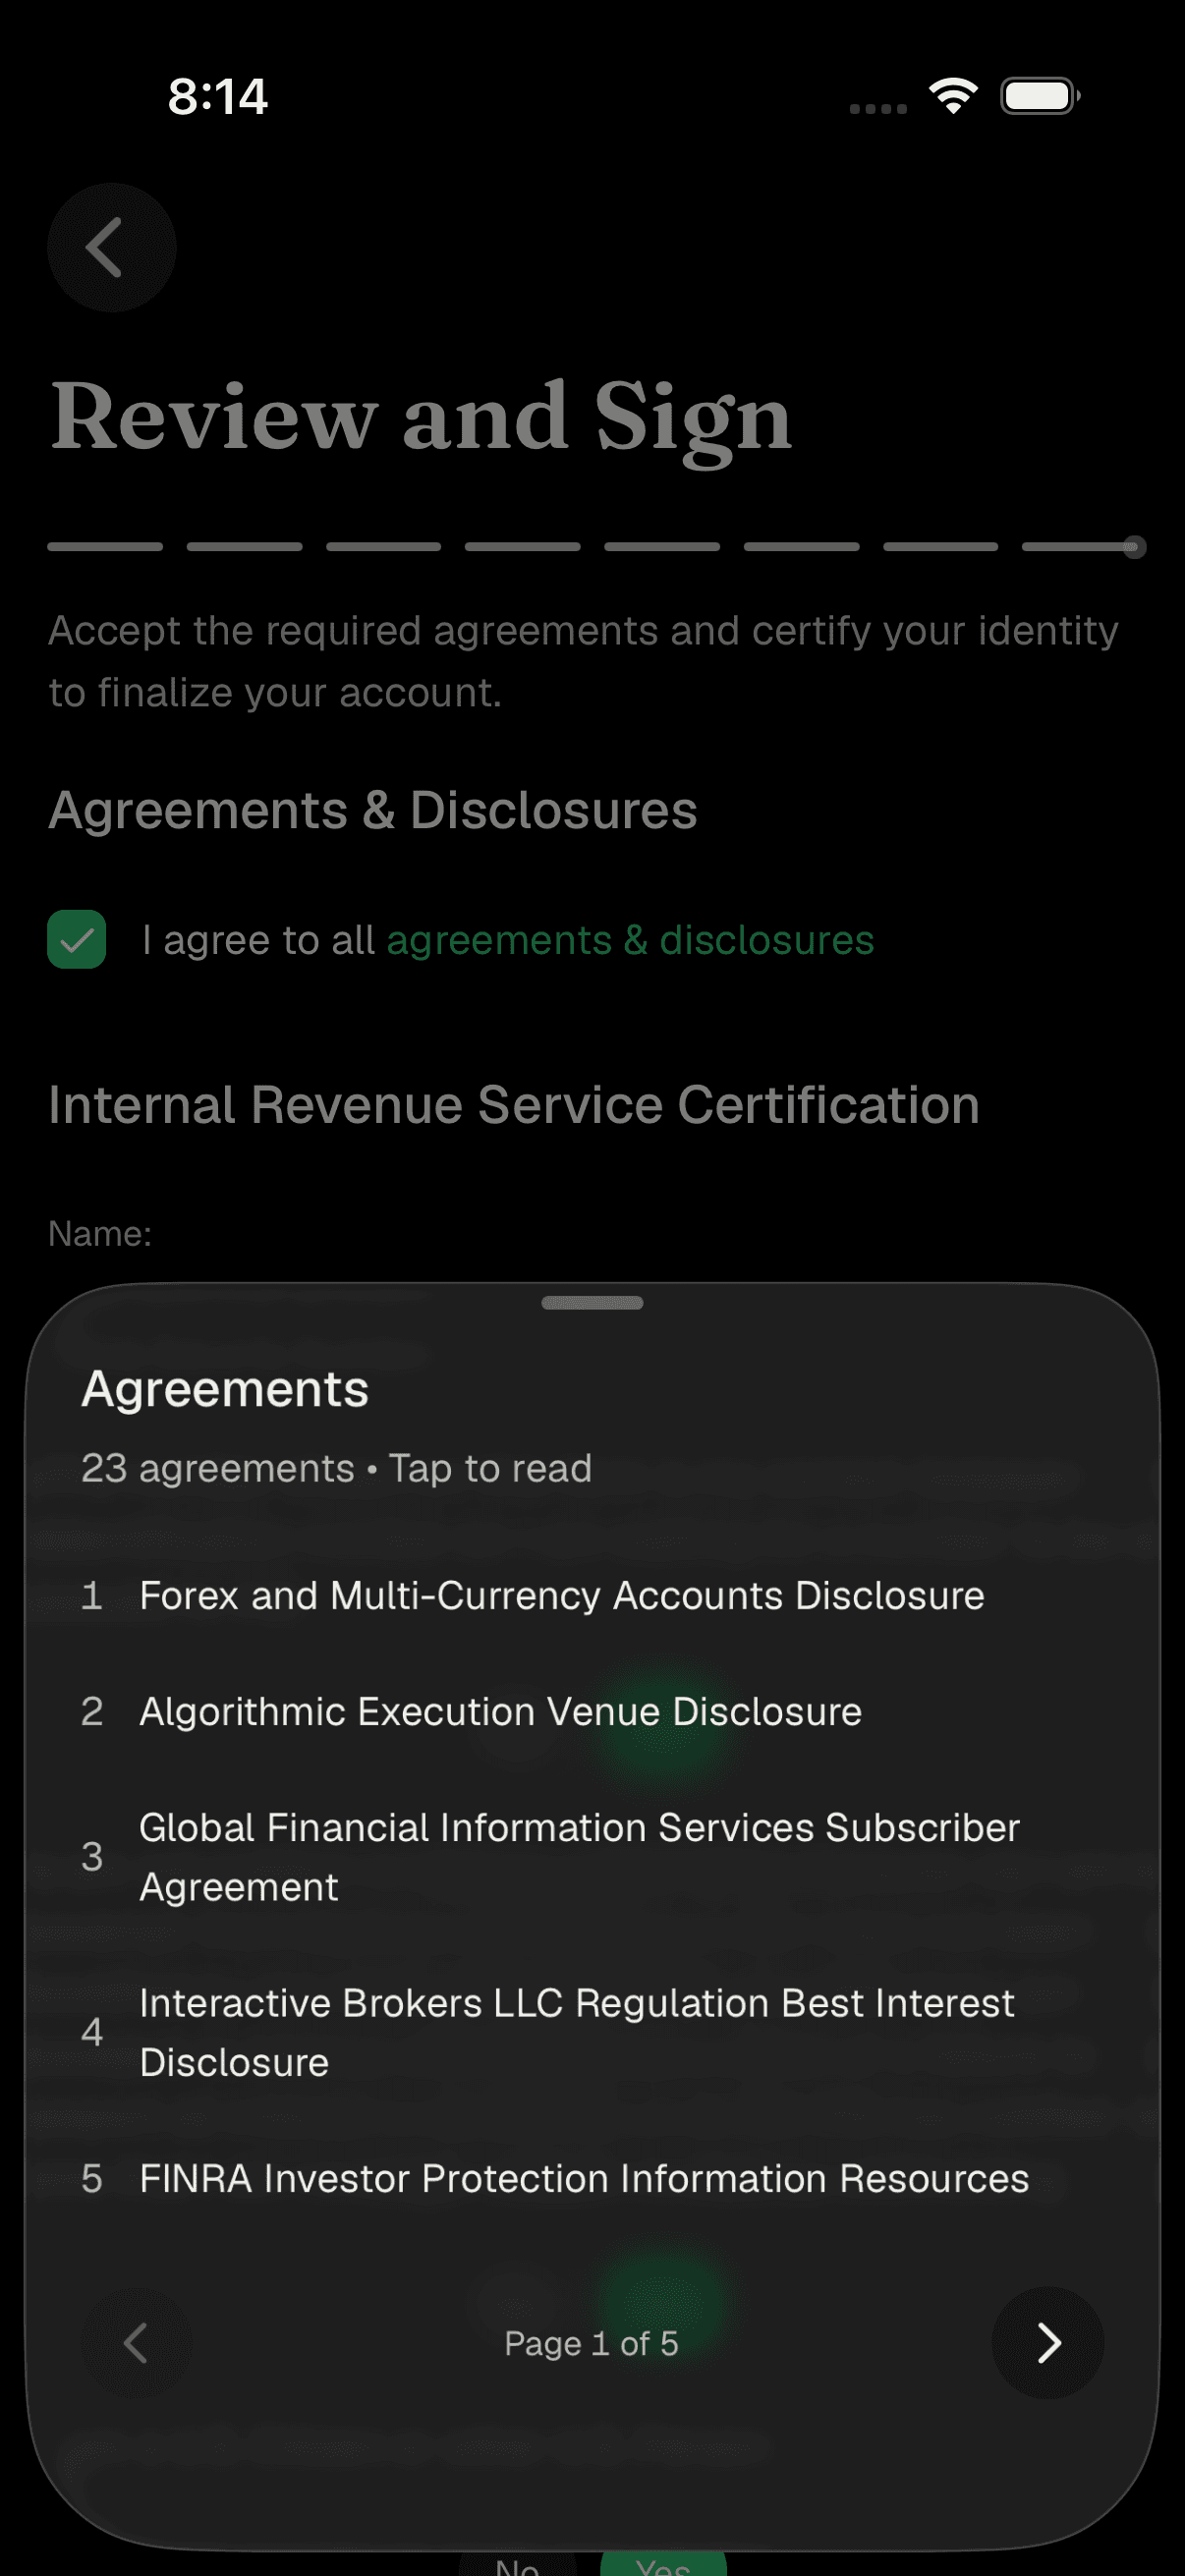
- On Review and Sign, read and accept the required Agreements & Disclosures. Each pending agreement must be accepted before you can finish.
- Complete the certification section. In the US, this is the Internal Revenue Service Certification (a W-9) - confirm the three certification checkboxes. Outside the US, this is the Certification (a W-8BEN) with a single certification checkbox.
- Type your full name exactly as it appears on your profile to act as your electronic signature.
- Tap Create Trading Account. You'll see a short "Creating your account" screen while we submit everything.
Stage 10 · Submission and approval
- When your application is submitted, you'll land on Account Submitted. It confirms that your account has been submitted for approval and that we're verifying your documents, which typically takes about a business day. Once approved, you'll receive an email confirmation.
- Take your next step. In the US, you can tap Add Bank Account to link your bank right away while we verify - or tap Skip for now to head to the home screen. Outside the US, tap Return to home.

If you have pending tasks
- Sometimes Interactive Brokers needs a little more from you before final approval. If so, you'll see a Pending Tasks screen, which may include KYC Verification (tap Complete KYC), Questionnaires, Verification Documents (upload proof of identity or address), or remaining Agreements & Disclosures.
- When a signature is required, type your full name in the Signature box, then tap Submit or Complete KYC.
Setup or linking at Interactive Brokers (some customers)
- If your situation requires it, you may be sent to Setup at Interactive Brokers. Tap Continue to Interactive Brokers to finish your application on their secure site (creating a username and password, completing the form, and signing agreements - about 10–15 minutes). When you return, tell the app whether you finished.
- Already have an Interactive Brokers Pro account? On Link your Interactive Brokers account, tap Link IBKR Pro Account and sign in with your existing credentials, making sure you use the same email address.
Tips
Use your legal name and details exactly as they appear on your ID and tax documents - mismatches are the most common reason an application stalls.
Every screen saves as you go, so if you step away you can pick up where you left off.
Tap Why do we ask for this information? on any screen if a question feels unexpected - each one explains the purpose in plain language.
The regulatory disclosures look intimidating but genuinely don't apply to most everyday investors. Answer honestly and move on.
Troubleshooting & FAQ
Document verification typically takes about one business day. You'll get an email confirmation once your account is approved.
You'll be guided to complete the full application directly on Interactive Brokers' secure website. We're actively building fuller in-app support for this, but for now this ensures your application meets all requirements.
Phone verification helps confirm it's really you and protects your account. You can't move past the personal info step until your number is verified, so tap Verify and enter the texted code.
PiTrade can only open accounts in supported countries right now. If you see "Country Not Supported," you won't be able to continue with that selection.
Rejected means your application wasn't approved - double-check that your information is correct, or contact Interactive Brokers customer support. Abandoned means you previously started but didn't finish; you can simply continue to create your account again.
Occasionally Interactive Brokers needs extra verification - such as a KYC check, a questionnaire, or a proof-of-identity document - before final approval. Complete each listed item, sign where asked, and tap Submit.